DIY Autumn Wreath

Making a DIY Autumn Wreath
Mini-project for this weekend; making an autumn wreath for our front door! I made a simple wire frame to fit around our square door window last year, and it worked pretty well! (Click here to see last year’s winter wreath.)
Reading not your thing? Watch the video!
The goldenrod is blooming and Fall is in full swing up here in the mountain of North Georgia! It’s time to trash the dried up wreath and go find some pretty weeds and grasses. Let’s go foraging!

Things you’ll need for a fun foraging evening:
• Some big shears or trimmers (I’m using my favorite gold scissors)
• A basket to hold everything (mine was $2 from a local thrift store)
• A nice day for driving around looking for pretty vegetation!
I started with goldenrod as my main pop of color, then moved onto to not only look for nice colored plants, but also ones with varied texture. Text is important because when everything eventually fades and dries, it’ll still have some nice variety. Pick a little more than you think you’ll use, but don’t go overboard.
After I got home, I really wanted to add in one more thing to my bouquet of fall finds. I went out in the yard looking for cool nuts, acorns, or maybe even some bark with mushrooms on it, but I found a lot of nice hickory nuts to use!

You could wire-wrap these to attach them, but I wanted to conserve my wire, so I drilled holes in them instead. (Don’t be afraid to use pliers if you need some extra grip.)
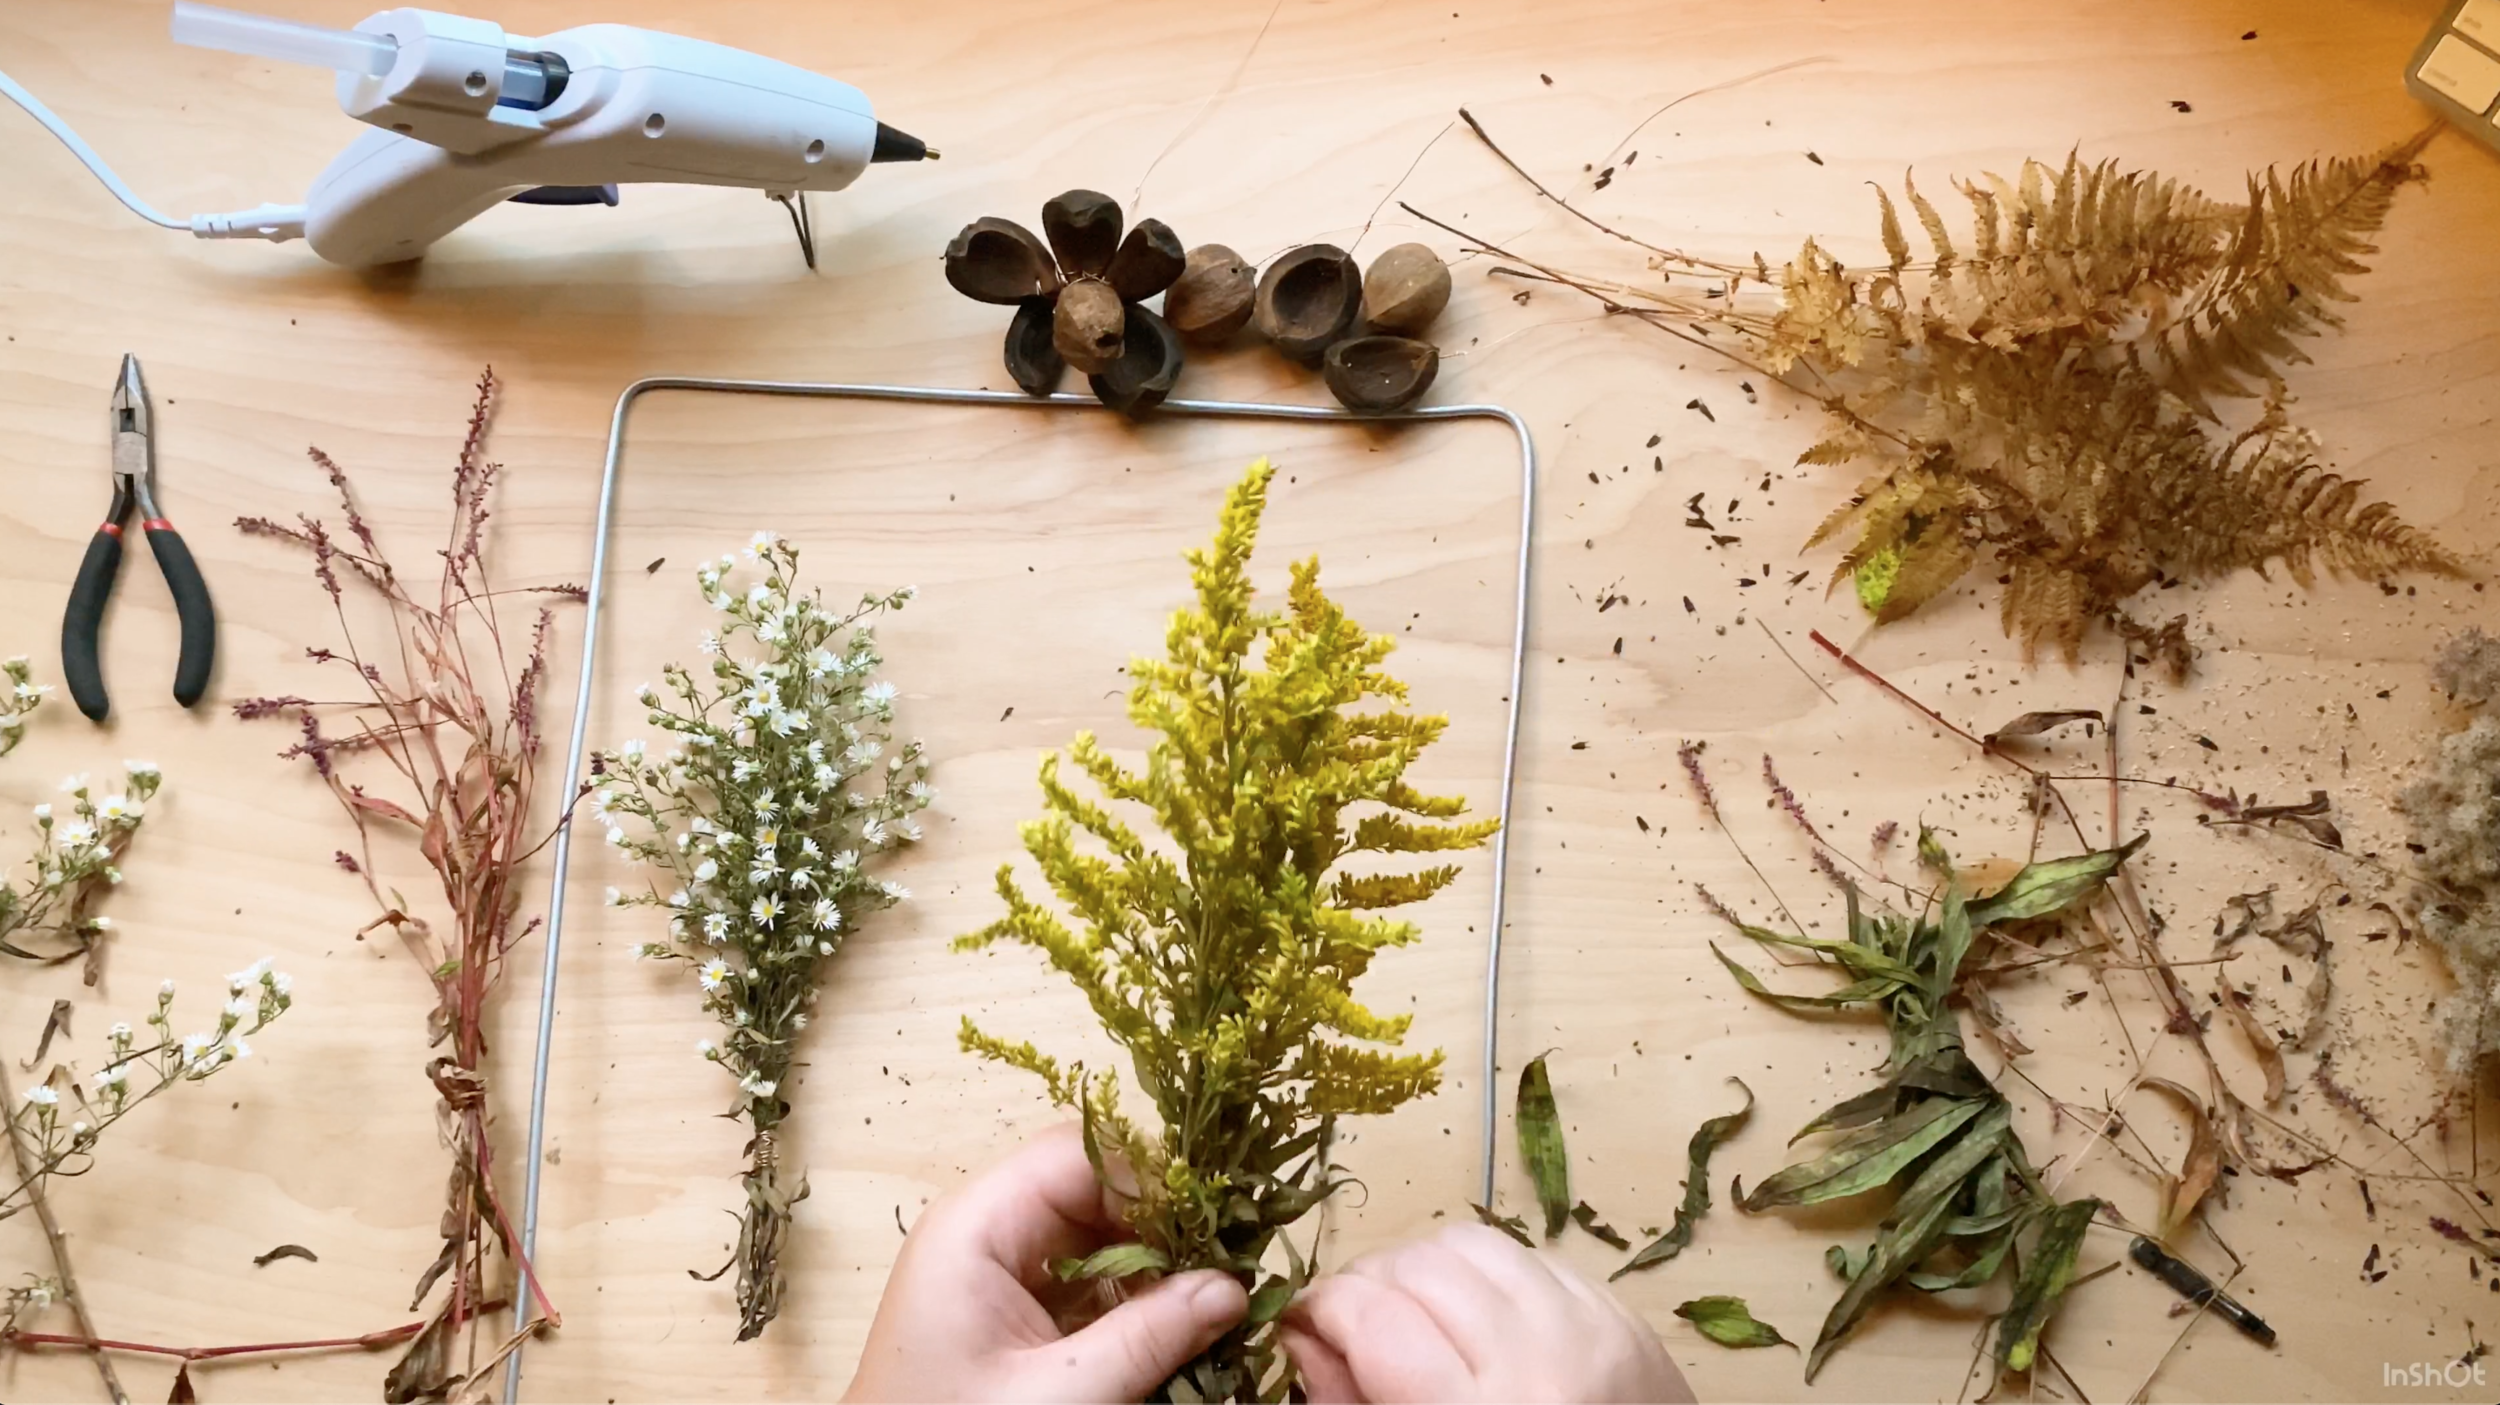
Here’s what I needed to attach everything to my wire frame:
• Small pliers or wire-cutters (or a pair of scissors you want to ruin)
• Thin-gauge wire for wrapping/attaching (24+ gauge, I’m using copper)
• Hot glue gun (I use this as a last-resort because otherwise, you’ll have those thin gluey strings everywhere)

First step is to make little bouquets! I bundled up some of each kind, then twisted the wire around snugly, leaving enough of a wire tail Ito attach the bouquet to the frame later. Now you can lay your bouquets around on the frame and play with how you want to group them on the frame!
Know how you want everything to look? Awesome! Let’s start attaching. Remember to use some of the bigger bouquets first, then you' can layer the thinner pieces on top. Attach the bouquets using the tail end of the wire they’re wrapped with, then if they need extra securing, reach for that glue gun. When it comes to more delicate pieces, like the dried ferns you see here, the glue gun really does the trick.

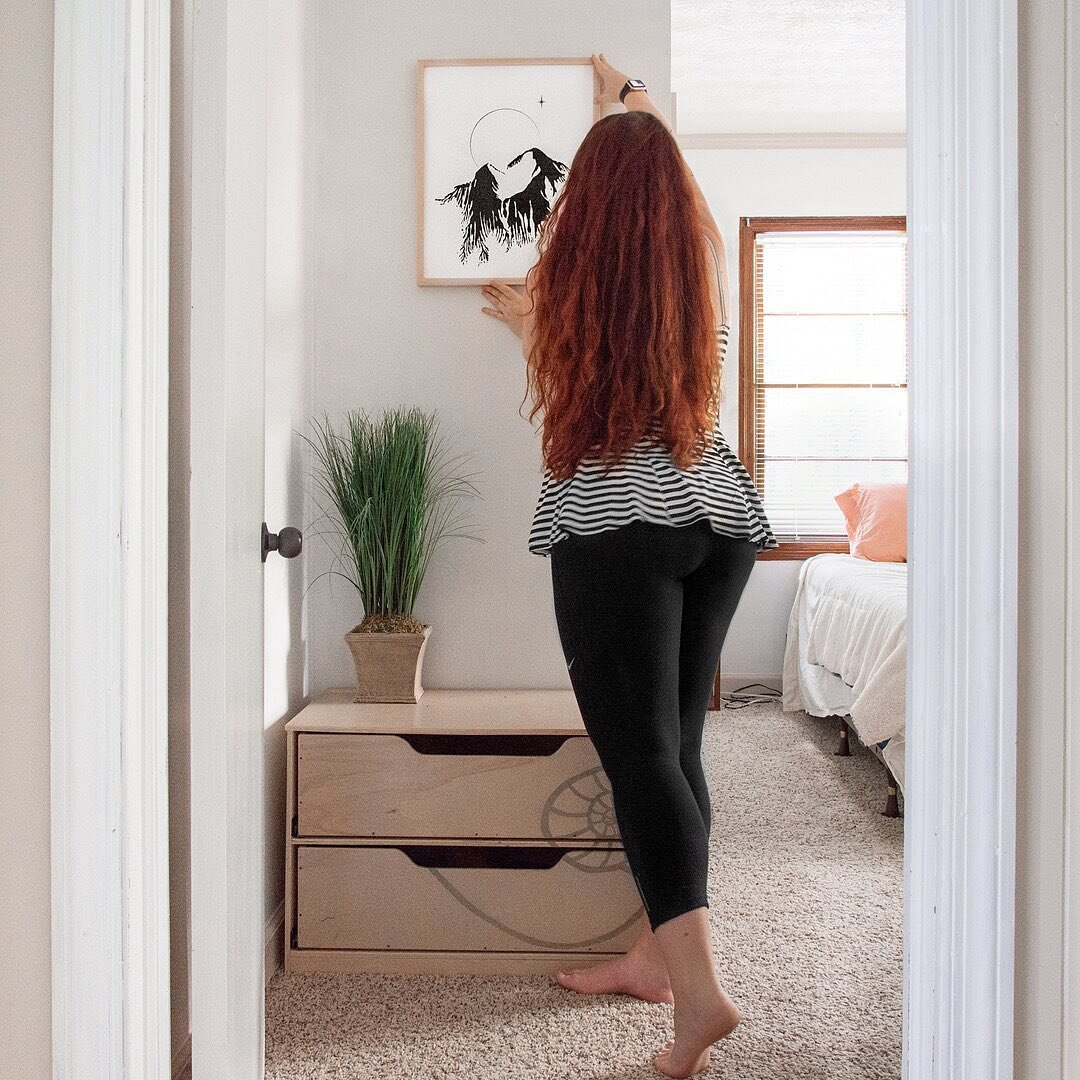
Once everything is attached, your done! Don’t forget to snap a picture of your new wreath and send it to your friends (including me, I’d love to see what you make). It should look beautiful as it dries through the season.

My wreath from last winter, and now the new autumn wreath!
Want to be friends? Connect with me on Instagram! I post a lot of sunsets, cabin crafts, and of course, pictures of my dog.